On click animation
With On click trigger you can set up animation that will be launched when you click on the element. Trigger element can be the animated element itself or any other element on the page. This can be set in the animation settings.
Basic actions when working with animations:
With this setting you can select an element that will trigger animation when clicked.
The animated element is set as default trigger — the object to which the animation is applied. This option can be used, for example, if you need to increase the size of the image when clicking on it.
When to change the trigger element
Example: an image must appear next when you click on the button. To do this, you need to add "On click" animation for the image, and select the button as the trigger element.
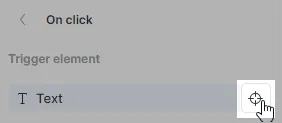
To change the trigger element, click on its name or on the "target" icon, select the desired element on the canvas or in layers and confirm the selection.
This can be used for continuous playback of animation on the screen. By default, this parameter is disabled, the animation will be played only once.
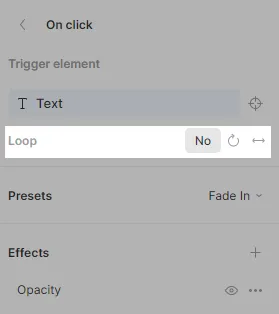
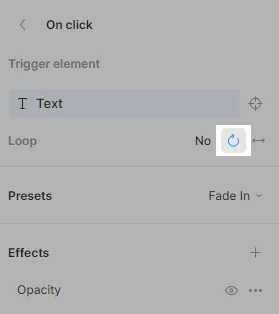
Loop: when animation ends, it will start playing again from the first frame.
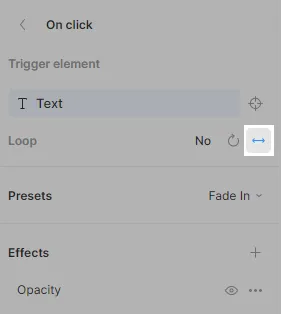
Loop with reverse: when animation ends, it will start playing in reverse.
You can choose one of the presets. This will add a set of effects with ready settings. The following presets are available:
- Fade In
- Scale In
- Scale In Bottom
- Flip Horizontal
- Flip Vertical
- Slide In From Top
- Slide In From Left
- Slide In From Right
- Slide In From Bottom
- Custom
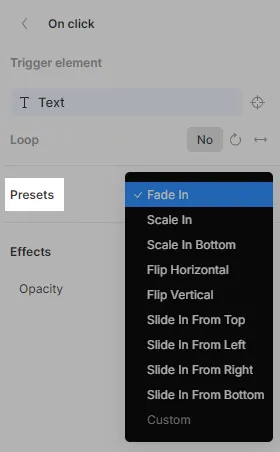
By default, when you add animation, Fade In preset is applied.
If you add new effects or change the current ones, the custom preset will be automatically applied. Selecting a preset will reset all your settings to default values for that preset.
Effects are responsible element’s behavior during animation. To add an effect, click "+" on the right.
6 effects can be customized:
- Move: to move an element along the X, Y, and Z axes.
- Scale: to scale (increase or decrease) the size of an element within the range from 0 to 100% (from 0 to 1) or more than 100% (1+).
- Rotate: to rotate an element along the X, Y, and Z axes.
- Skew: to skew an element along the X and Y axes.
- Opacity: to change the opacity of an element from 0 (completely invisible) to 100% (completely visible) or vice versa (from visible to invisible).
- Size: to change the size of an element by width and height.
Clicking on the effect name will take you to its settings. Here you can view the default options and set the desired parameters.
The following settings are available for effects:
Start and End
With these settings you can set the value of the effect parameters at the beginning and end of animation.
Timing
With these settings you can set animation duration and delay before the effect starts in seconds.
Easing
With these settings you can set the pattern of acceleration and deceleration of the effect throughout the animation to improve its perception.
You can add multiple effects to a single animation, and they will all start running simultaneously when animation starts. For example, you can use opacity and motion effects to make the element gradually appear on the screen and move across it at the same time.
You can also set up delays for effects so that they run at different times. This will help make animation more interesting and dynamic.
To remove then added effect, click on the three dots next to its name and then click Delete. This will remove the effect for all breakpoints.
If you don't want to play the effect with the selected breakpoint, you can hide it by clicking on the eye icon to the right of the name.
Here you can disable animation for various breakpoints. By default, animation is enabled for all breakpoints.
The settings are inherited from the base breakpoint. For example, if you disable animation for tablet, it will only work on PC, mobile breakpoints will be disabled.
You can enable or disable animation playback for each device by moving the switcher to the appropriate position.
Let's study how you can use On click animation. Let's set up an effect in which when you click on each advantage item, a block with additional information appears.
To do this, you need to add On click animation for the block with additional information, and select the block with an advantage as the trigger element. In the animation settings, you need to use the opacity effect from 0 to 100%. The block with additional information will be initially hidden and will become visible only when click on the block with an advantage.
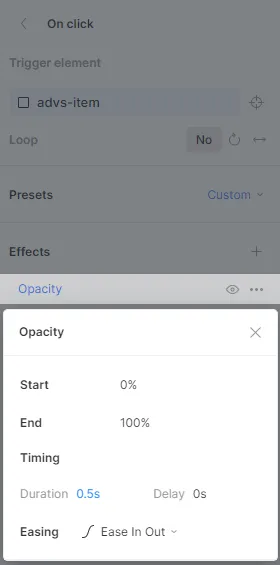
After setting up the animation for one of the items, you can copy it for all the other blocks.